Home|News|How to build a shower base for walk-in shower?
How to build a shower base for walk-in shower?
How to build a shower base for walk-in shower?
Creating a walk-in shower base is a project that can not only elevate the aesthetics of your bathroom but also add to the functionality and accessibility of your space. This article will guide you step-by-step through the process of building a reliable and stylish shower base for that walk-in shower you've been dreaming about. Remember, building a shower base is a task that may require some DIY experience, so if at any point you feel unsure, don't hesitate to consult a professional.
Introduction to Building a Walk-In Shower Base
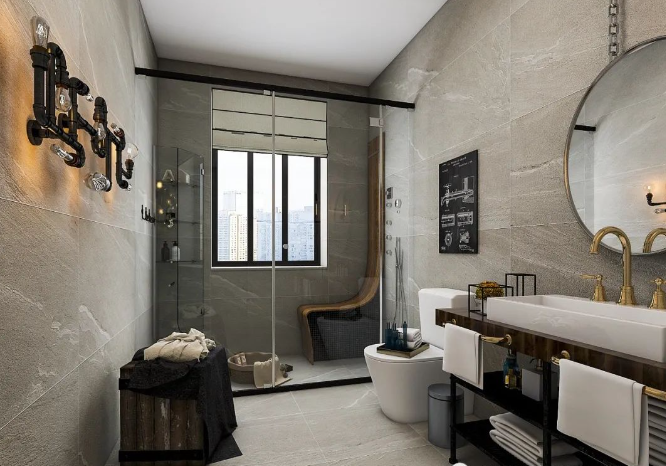
A walk-in shower offers a sleek, modern look that many homeowners desire. It's also practical, especially for those with mobility issues, since there's no tub wall to step over. Before you start, you should have a clear plan for your plumbing, a design in mind, and all the necessary tools and materials. Let's walk through the basics.
Tools and Materials
To build your shower base, you'll need the following tools and materials:
Tape measure
Level
2x4 lumber for framing
Plywood for the base (preferably marine plywood for water resistance)
Screws
Shower drain assembly
PVC or rubber shower pan liner
Concrete mix
Trowel
Tile and tile adhesive (if tiling the base)
Grout
Sealant
Step 1: Planning Your Space
First, you'll want to measure your designated shower area accurately. Ensure your space can accommodate the shower base size you desire. With precise measurements, you'll be able to purchase the right amount of materials and avoid unnecessary waste or extra costs.
Step 2: Creating the Frame
Craft a frame using 2x4 lumber to the dimensions you have specified for your shower. This frame will outline the perimeter of your shower base and should be secured to the floor with screws. Ensure it's perfectly leveled, as this will affect drainage and the overall function of your shower.
Step 3: Laying the Foundation
Inside the frame, lay a sheet of plywood to act as the base. Cut a hole for the shower drain before fixing the plywood to the frame with screws. It's imperative that the plywood fits snugly within the frame and is completely level.
Step 4: Waterproofing with a Shower Pan Liner
To prevent water damage, the shower pan liner is critical. Lay the PVC or rubber liner over the plywood, ensuring that it extends up the sides of the frame. It should cover the floor area and at least 3 inches up each side. The liner is then fitted around the drain and glued or clamped down.
Step 5: Pouring the Concrete
Next, mix your concrete, following the manufacturer's instructions. Pour the concrete over the liner, smoothing it with a trowel as you work. The concrete should slope gently toward the drain to encourage proper water flow. Typically, a quarter of an inch per foot gradient is recommended.
Step 6: Installing Tiles (Optional)
If you choose to tile your shower base, once the concrete has cured, apply tile adhesive with a notched trowel and set your tiles in place. Choose slip-resistant tiles for safety. Wait for the adhesive to dry completely before grouting the tiles. Seal the tile with a waterproof sealant once the grout dries.
Conclusion
Building a shower base for a walk-in shower can seem daunting, but it's a project that can provide satisfaction and value to your home. With careful planning, precise measurements, and some elbow grease, you can construct a durable and stylish walk-in shower base. Don't rush the process, and make sure to seek help if any step is beyond your DIY comfort zone.
Call to Action
If you're ready to take on this project or if you're looking for more information on bathroom renovations, feel free to reach out for guidance or to share your successes. Your perfect walk-in shower awaits!
Building a shower base requires attention to detail and patience but results in a personalized touch to your bathroom that distinguishes it from a generic design. Remember to follow local building codes and regulations throughout the process and consider consulting with a professional to ensure that everything is up to standard. This is your opportunity to create a functional, stylish walk-in shower that meets all your needs while also adding value to your home.