The Optimal Sequence for a Stress-Free Bathroom Renovation
The Optimal Sequence for a Stress-Free Bathroom Renovation
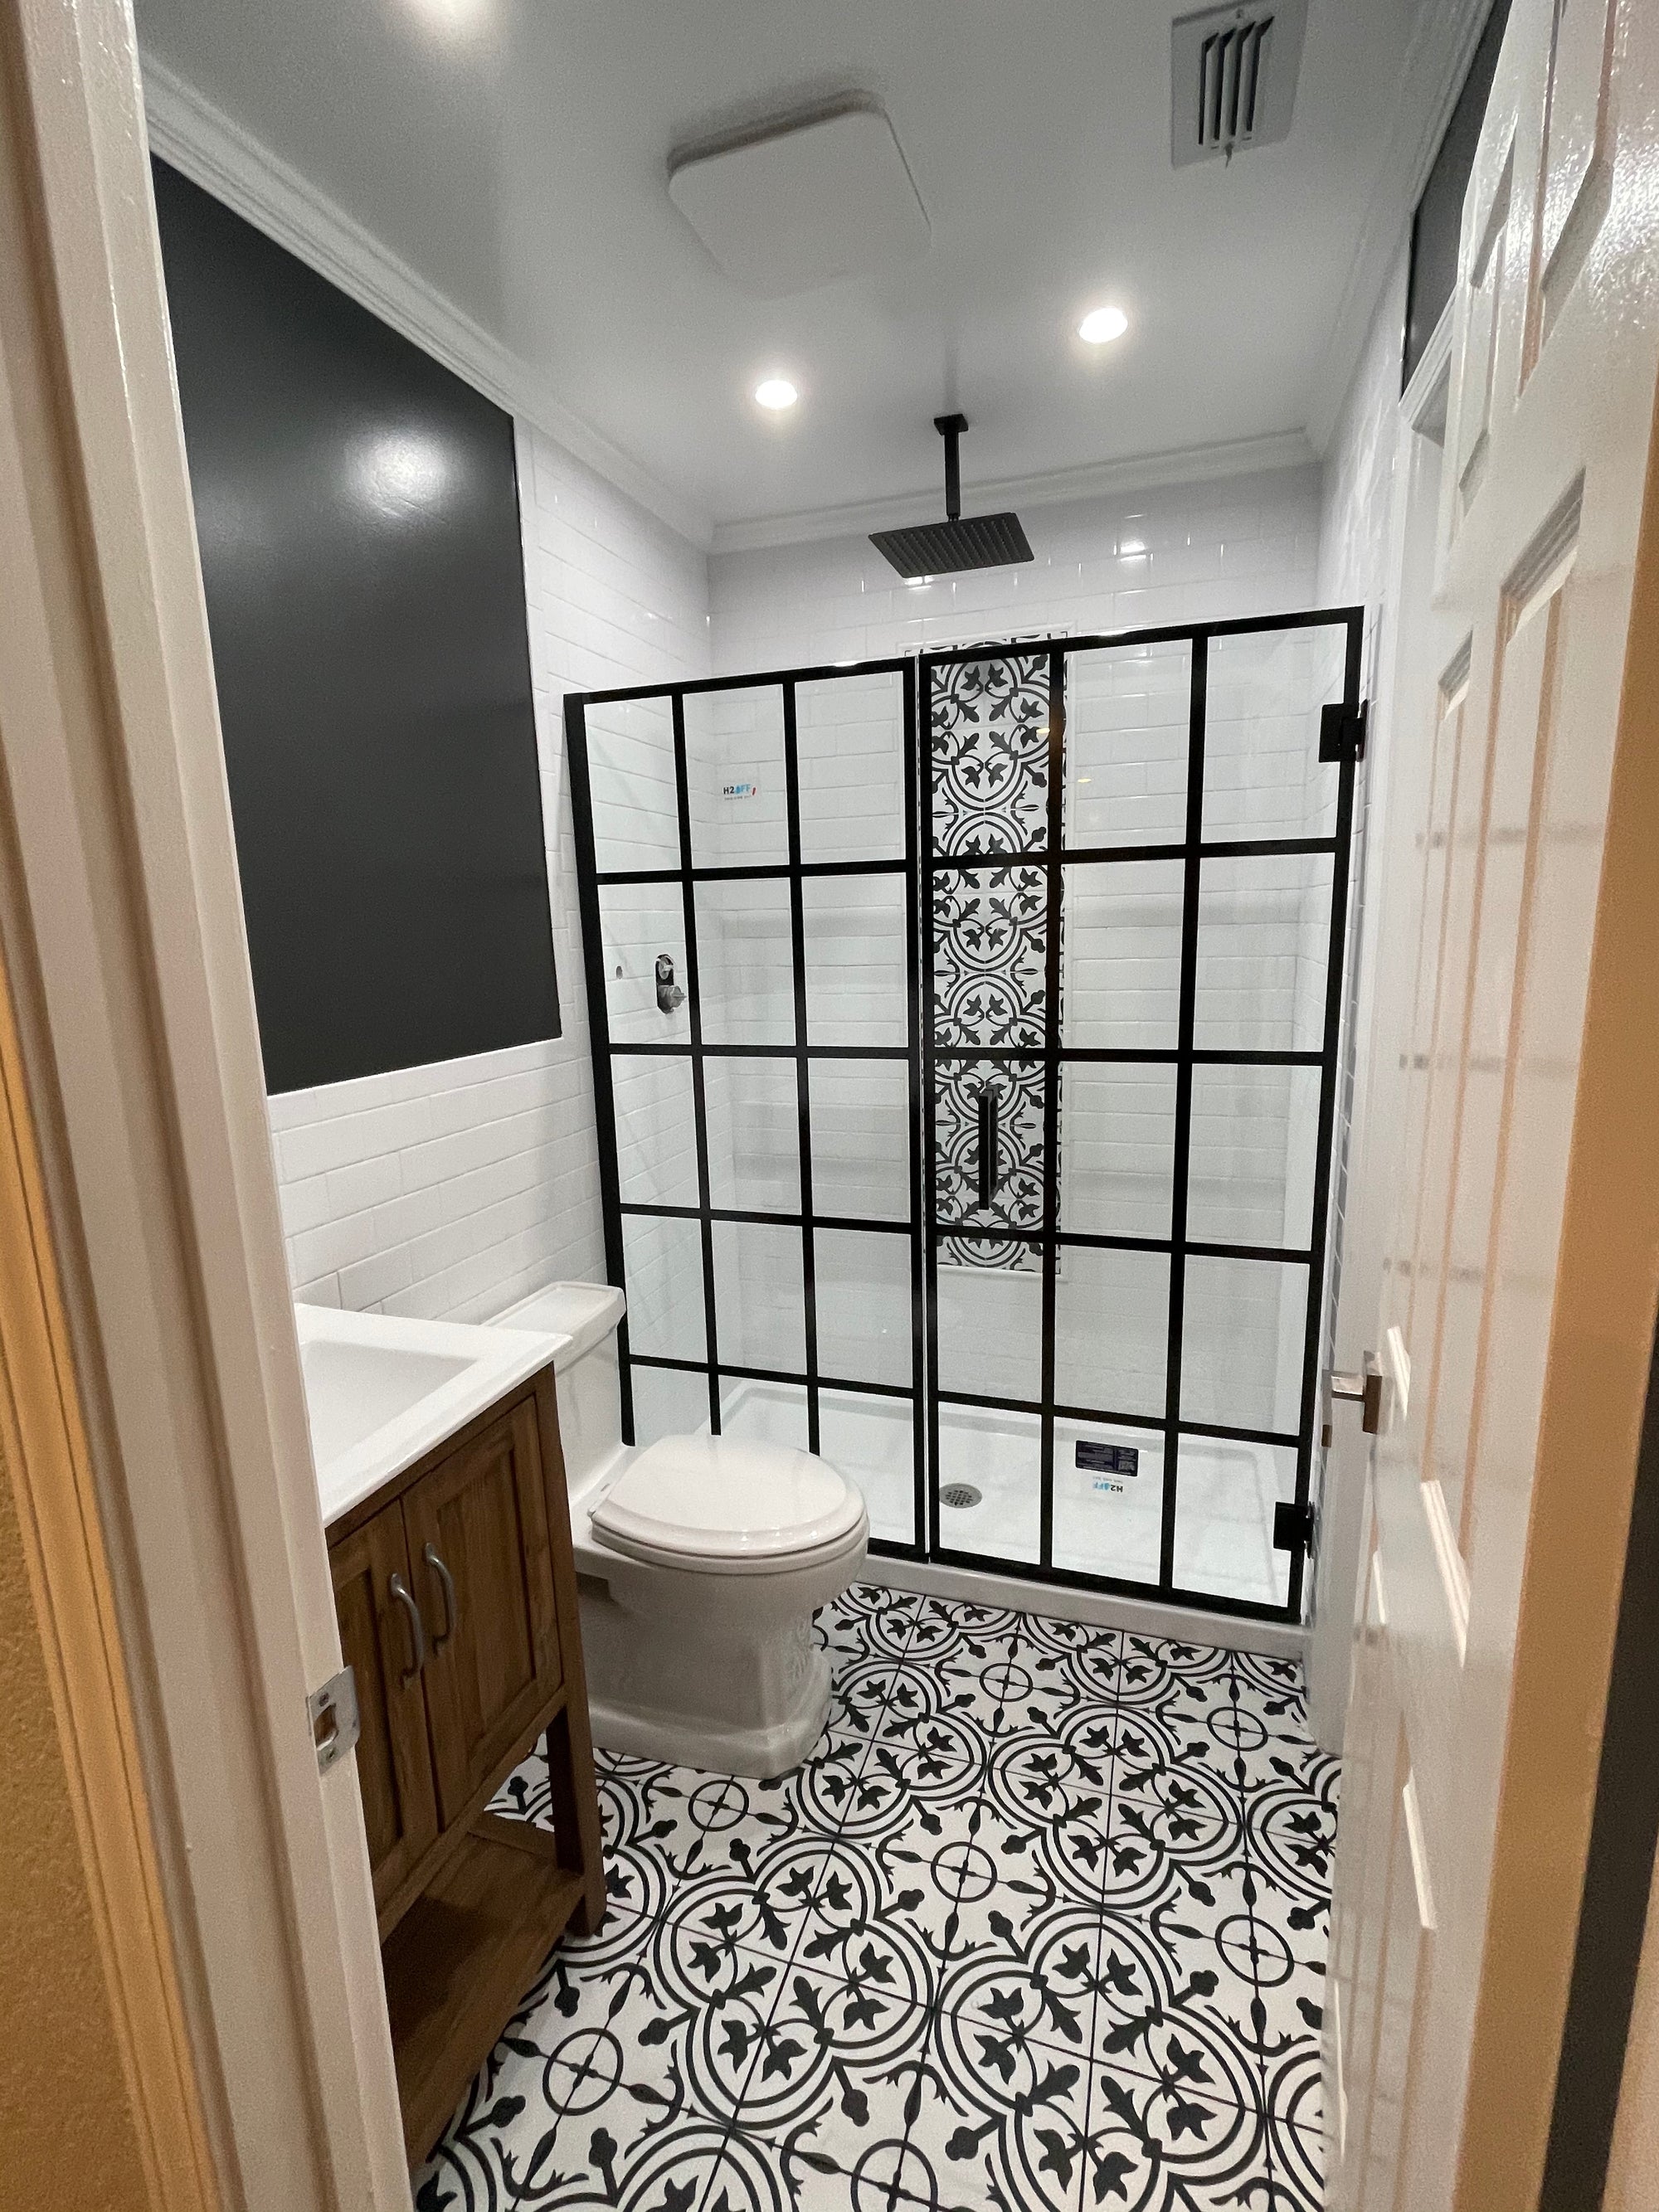
Embarking on a bathroom renovation can be an exciting endeavor, but without a clear plan, it can quickly turn into a chaotic experience. Renovating a bathroom requires strategic planning, especially when focusing on essential aspects such as the shower area, bathroom vanity, and shower base.

Step 1: Planning and Design
Before diving into the renovation, solidify your design plans. Consider the layout of your bathroom and where you’ll position focal points like the shower enclosure, bathroom vanity, and shower base. Ensure that your design choices are functional and align with your overall aesthetic.
Step 2: Budgeting and Sourcing Materials
Next, set a realistic budget and begin sourcing quality materials. Pay special attention to the shower area, opting for durable glass for doors, and choose a vanity and shower pan that are both stylish and sturdy.
Step 3: Demolition and Removal
The actual work begins with demolition. Carefully remove old fixtures and tiles, particularly around areas where you will install new bathroom cabinets, shower enclosures, and shower pans.
Step 4: Plumbing and Electrical Work
With the bathroom stripped back, this is the time to update plumbing and electrical systems. It's crucial to get this step right, especially where your new walk-in shower and modern vanity units will be installed.
Step 5: Waterproofing and Flooring
Water damage is the bane of any bathroom, so properly waterproof all relevant areas. Following this, lay down new flooring, ensuring that it provides a solid foundation for your shower base and vanity.
Step 6: Installation of the Shower Base and Bathtub
Positioning your shower base is next. Whether it's a sleek, walk-in pan or a tub-shower combo, ensuring correct installation is key to preventing leaks. Your bathtub, if you're including one, should also be installed at this stage.
Step 7: Tiling and Painting
With the foundational elements in place, walls and any unfinished areas can now be tiled and painted. Ideally, select moisture-resistant paint and tiles that complement your chosen shower doors and fixtures.
Step 8: Shower Enclosure and Bathroom Vanity
As the renovation nears completion, it's time to install the standout elements—the shower enclosure and the bathroom vanity. A frameless glass shower door can serve as a stunning centerpiece, while the right vanity should offer both practicality and elegance.
Step 9: Fittings and Fixtures
The final step is to fit all the accessories—faucets, handles, showerheads, and storage solutions. These should be both functional and in keeping with the design theme of your bathroom.